Speaking Natural Finishes – series 2
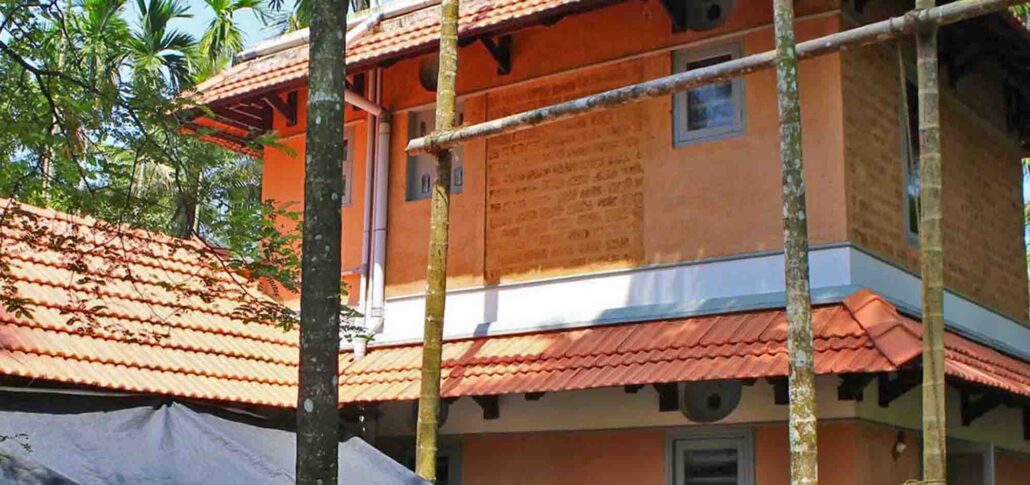
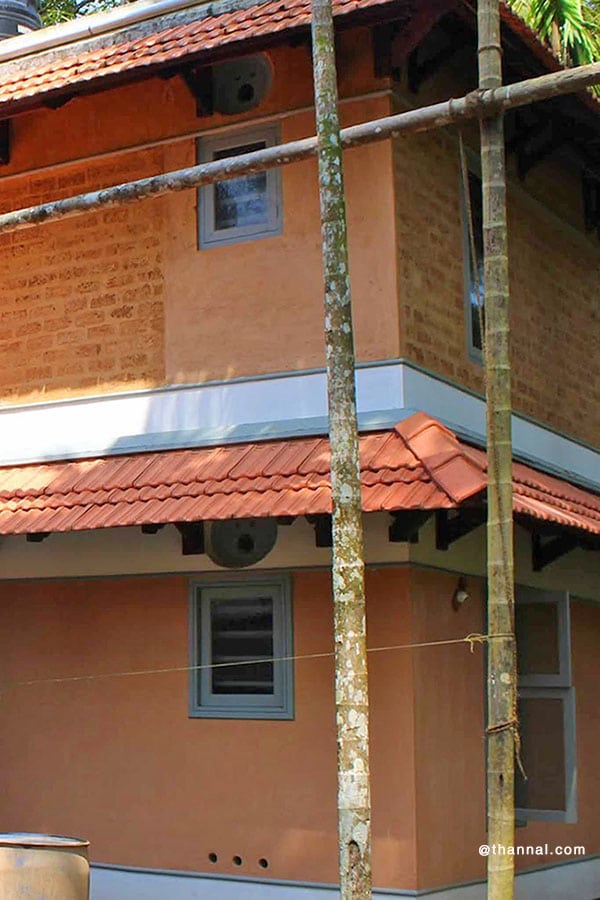
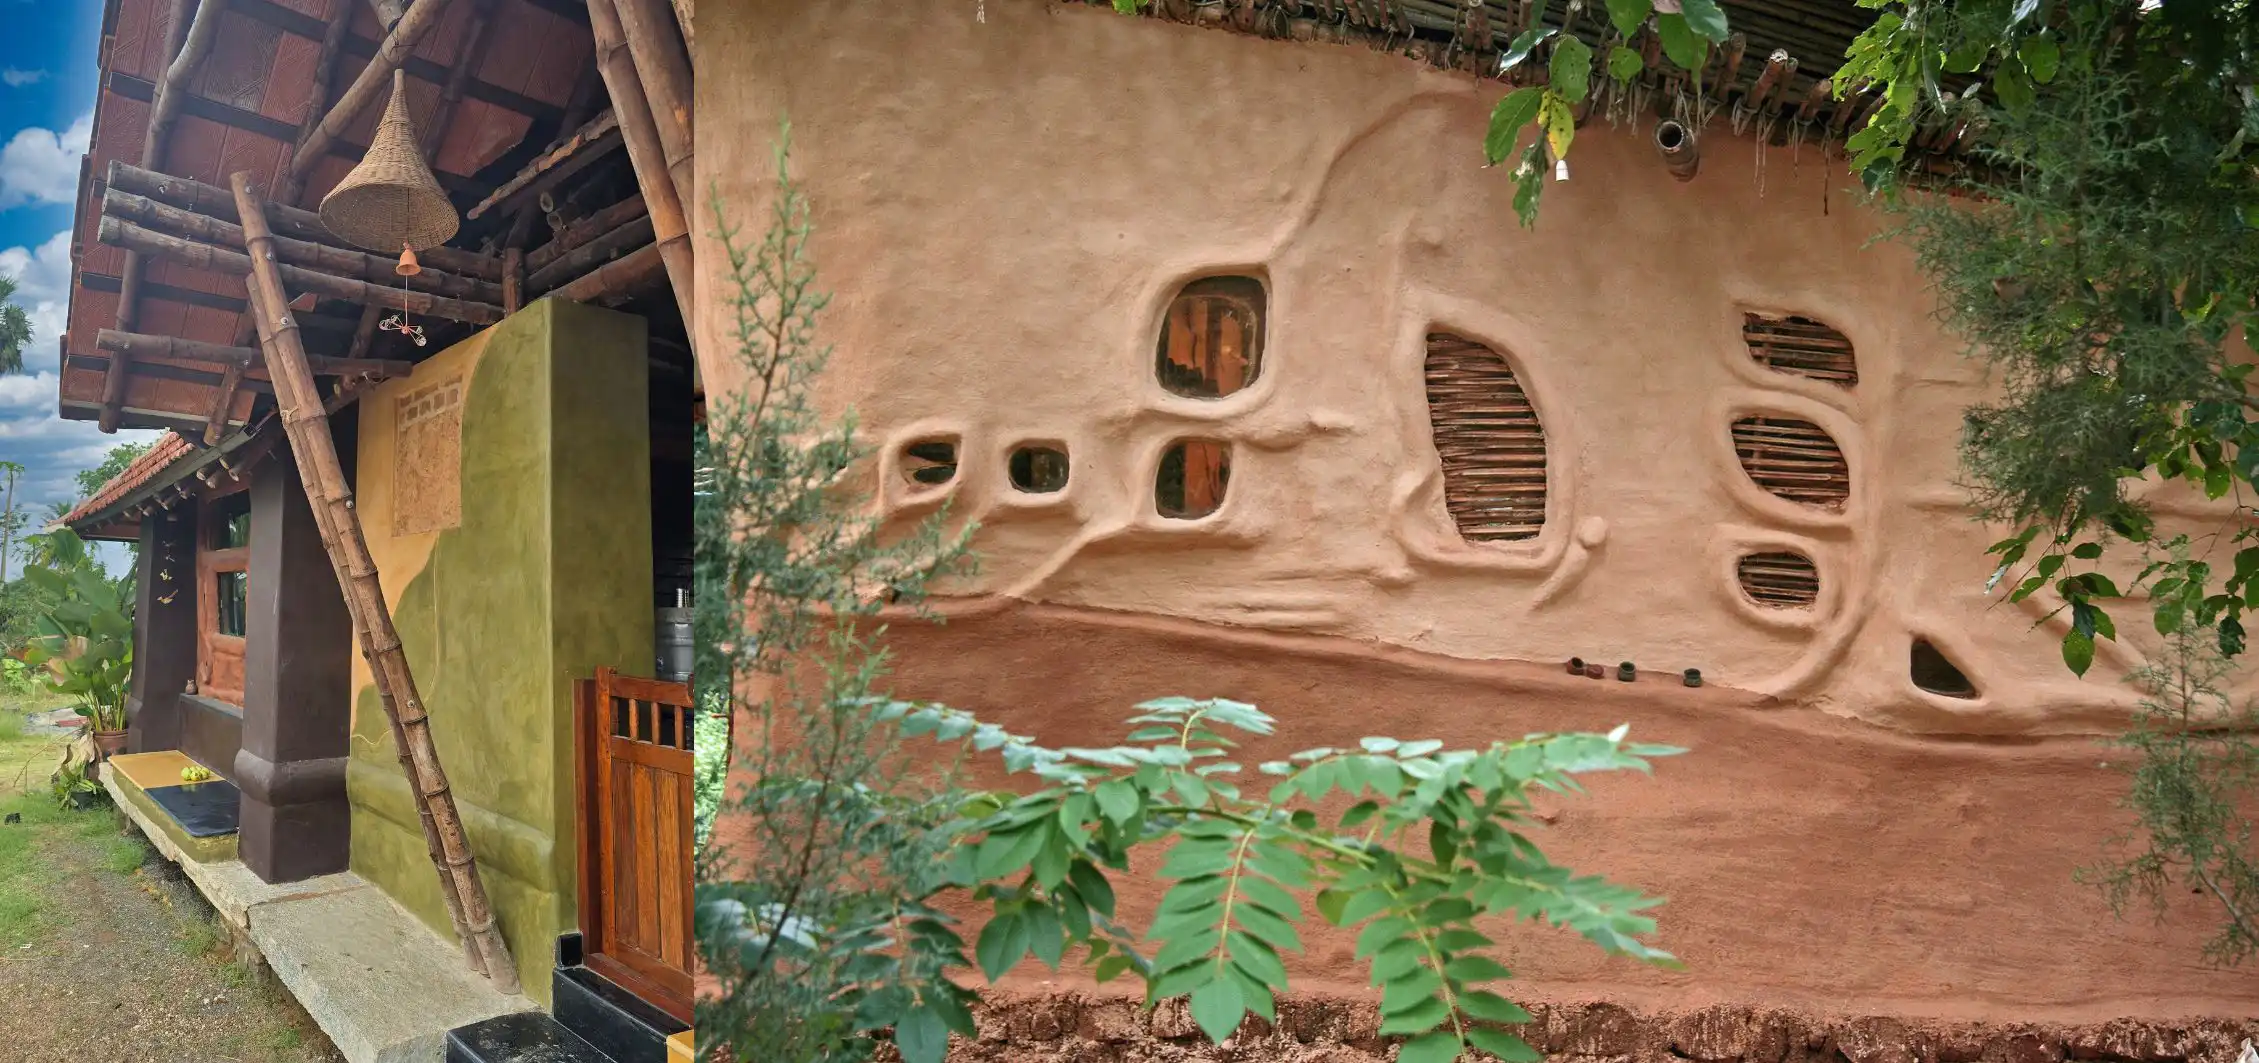
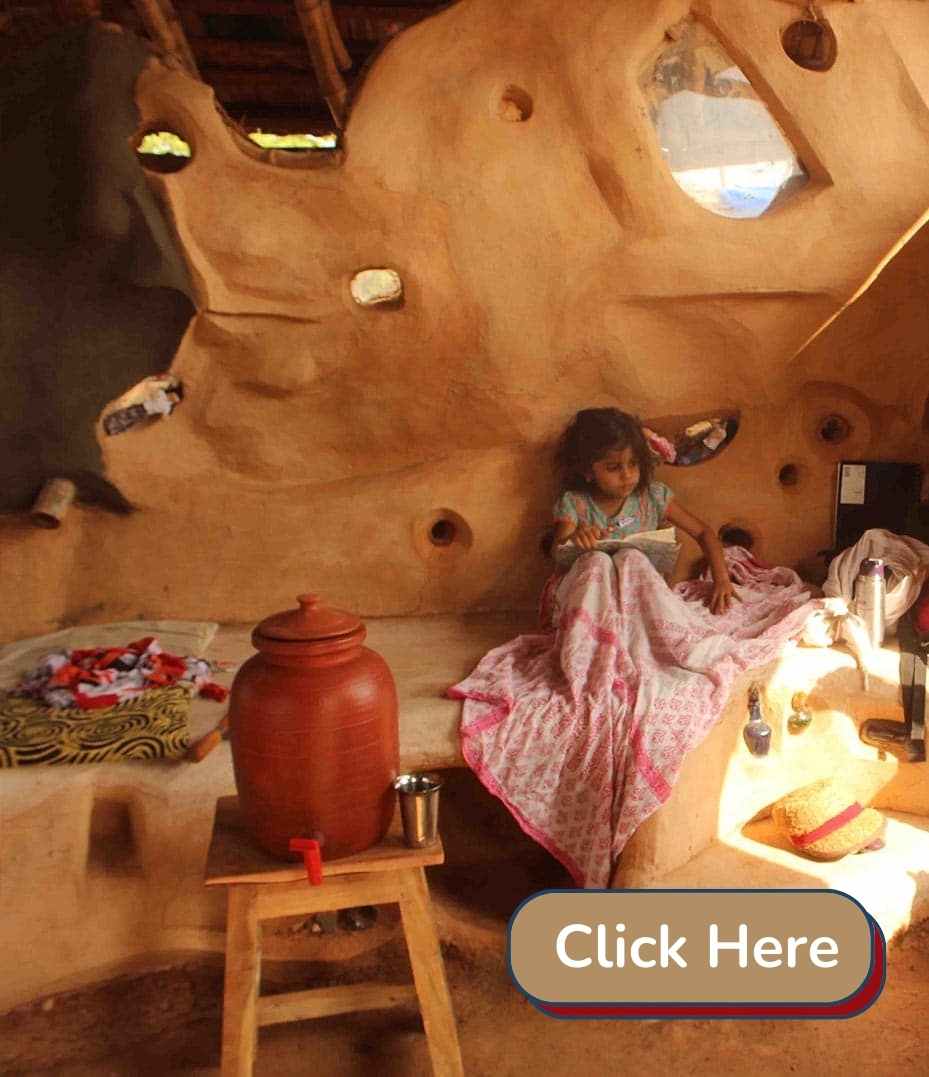
It is not very often that one comes across walls that speak with us. Here’s a recipe for one such beautiful wall finish of Devapriyan Kanjankat‘s Cob home from the Coast of Kerala.
Ingredients:
Local Soil: 6 Parts
Sand: 2 Parts
Lime: 1 Part
Rice husk: 2 Parts
Cow urine: As per taste
Water: For consistency
Things you will need:
A 6mm Net sieve; for a fine plaster a finer sieve will work the charm!
Spade
Trowels
Love
The Mix:
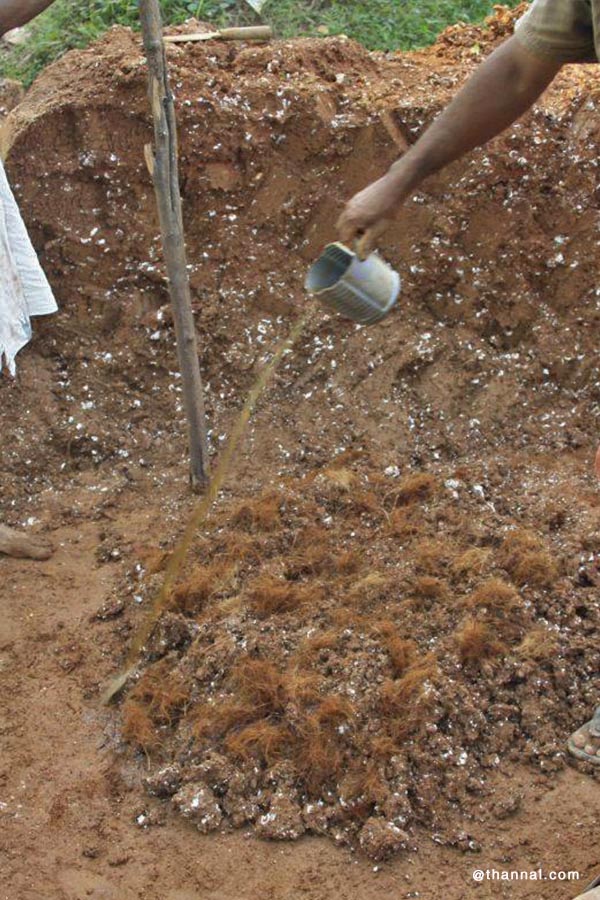
The soil and sand were sieved through a 6 mm net sieve for a grainy plaster. Then the soil, sand, and lime was added onto a clean surface and carefully mixed in the dry state. The quantity of Lime used is minimal here.
Note: Shell lime was owing to the proximity to the Sea. Since it is made from shells, which is pure Calcium Carbonate, the lime is in its most pure form.
Then water was added to the homogeneous blend and mixed thoroughly. During the initial mixing of the chief ingredients, enough water was added to attain the consistency of a stiff mortar post which was kept aside in a shaded area.
Do you want to study Natural Building Online ?
Secret Ingredients:
Ideally, Earthen Plaster mix is cured for a few days before it is used. This enhances the elasticity of the plaster mix and also imparts smoothness to it. This plaster was prepared 3-4 days prior to plastering. Before application the secret ingredients were added; no prizes for guessing! The cow urine and Rice husk were added on the go. There is no particular ratio in which the cow urine was used, but just before the application, cow urine was added to obtain the apt consistency for plastering, neither too runny nor too stiff. An interesting observation about cow urine enriched plaster is that you can drive a nail into the wall very easily without cracking. Who would’ve thought about this connection between a cow’s urine and wall-hung art?
The icing on the Wall:
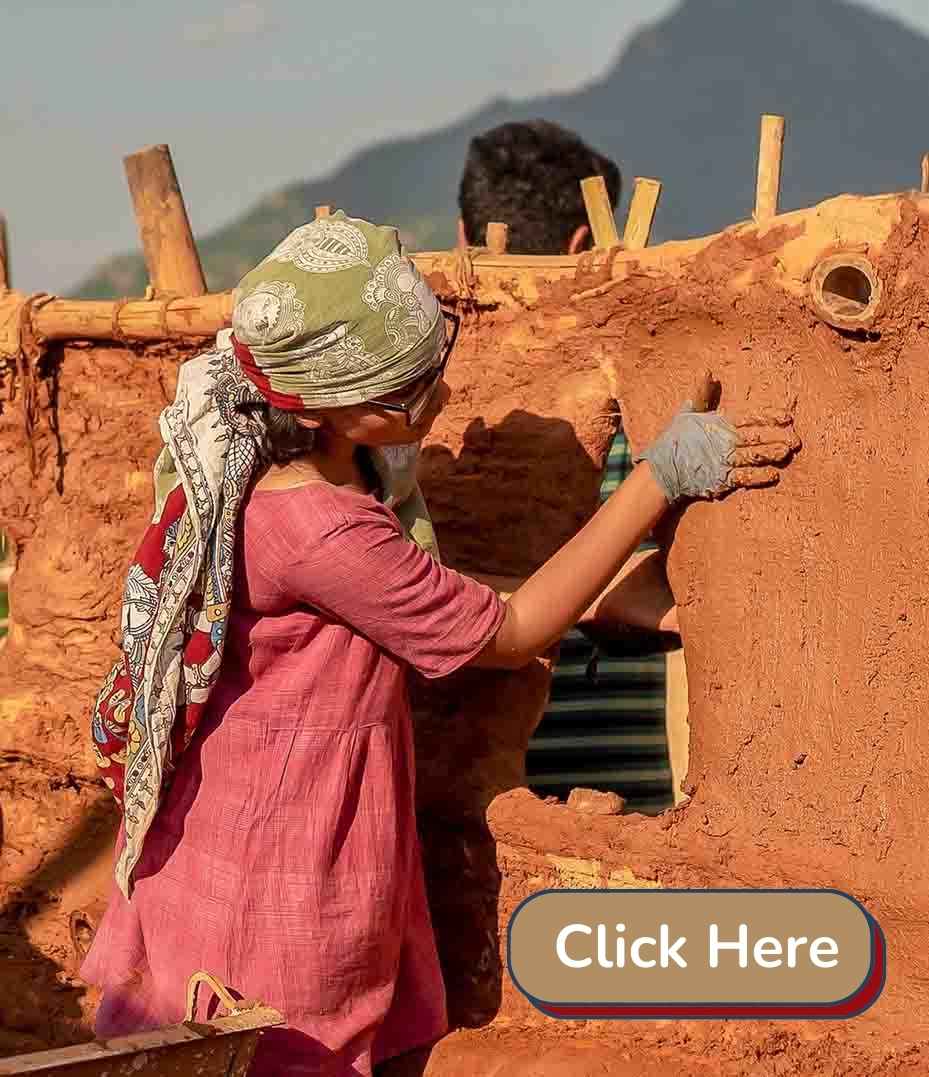
Prior to the application of the plasters, the cob walls were thoroughly moistened and allowed to stay overnight. On the next day, the plaster was applied onto the medium moist surface with a trowel and it was allowed to dry.
No water curing was done post plastering, but the surface was sufficiently shaded from the harsh sunlight to avoid instant drying. Instant drying can cause the clay particles in plaster to shrink and crack the surface.
Garnishes:
It is a common phenomenon for the plastered surface to develop small cracks while drying and they can be made to vanish easily. The cracks that occurred here while plastering was covered by slightly moistening the surface and smoothing it with a wooden levelling plank.
The internal and the external walls were treated with one coat of plastering only. Both these were 12 mm in thickness.
You can see how simple it is to prepare and plaster the, walls. Try out your own recipes and make small batches to find out what works in your region. Bring out the hues of your soil onto your walls and get them talking! Here is a video showing Earth plaster testing & sampling below
More photos in our FB album
Biju Bhaskar, Musharaff Hebballi & Anushree Tendolkar
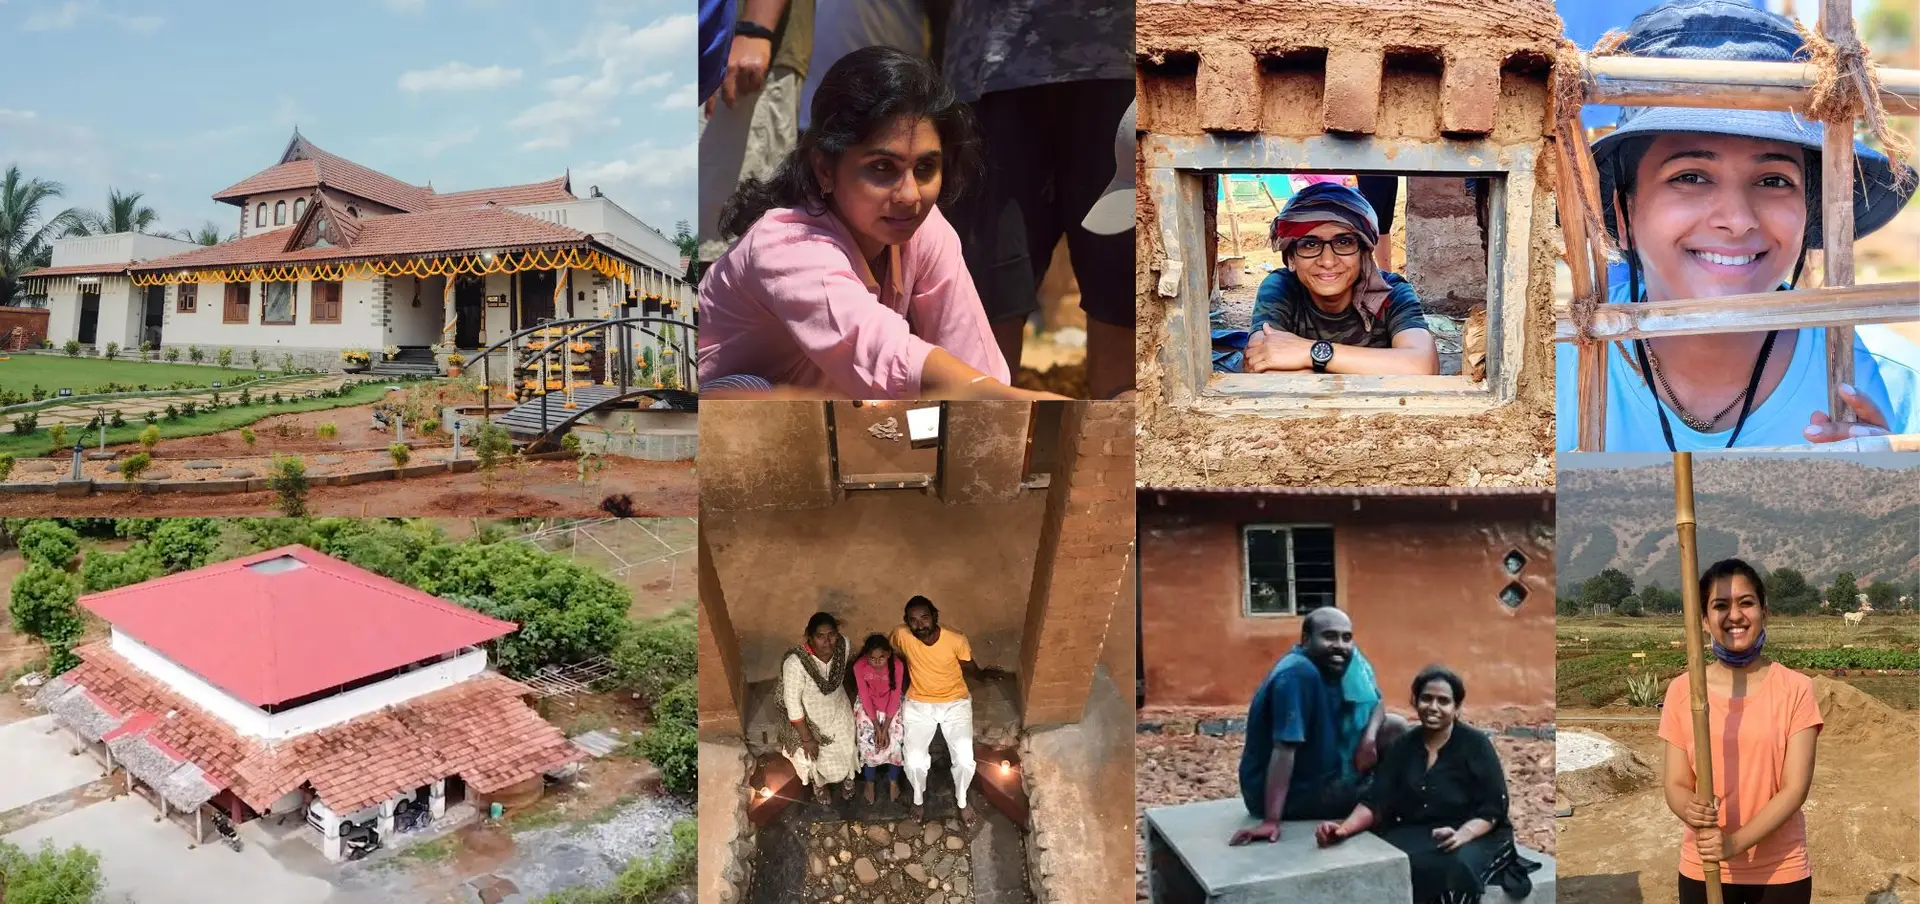
This article is by Natural builders Biju Bhaskar, Musharaff Hebballi & Anushree Tendolkar. This post is part of our Natural Finishes series



3 thoughts on “Devan’s Earthen Plaster using lime, husk & cow urine”
Thanks Uday. We have gone trough your beautiful article about lime much earlier in our studies. Will surly share. 🙂
Please see this and share
http://indigo-architects.com/resources/
Wonderfully simple.